Here is my card.

I stamped the big flower of the retired SU Secret Garden stamp set onto a panel of Canson watercolor paper with Stazon Jet Black ink and proceeded to doodle, I follow some of the designs on the book but others are my own. The spaces on the petals are small but, after covering each one of them, you can still see the flower image, can you? I used THIS ZIG memory marker to do the fine lines and designs.
The challenge asks for the use of one color so I picked Tempting Turquoise for the butterfly from the SU set called "Best Thoughts" that I bought on Ebay. The sentiment is from my unknown stash.
Here is a close up of my doodling.
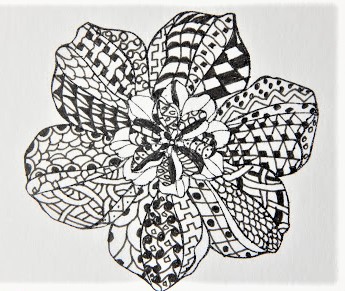
I had to use a magnifying glass I use for cross stitching to be able to fill in those tiny spaces.
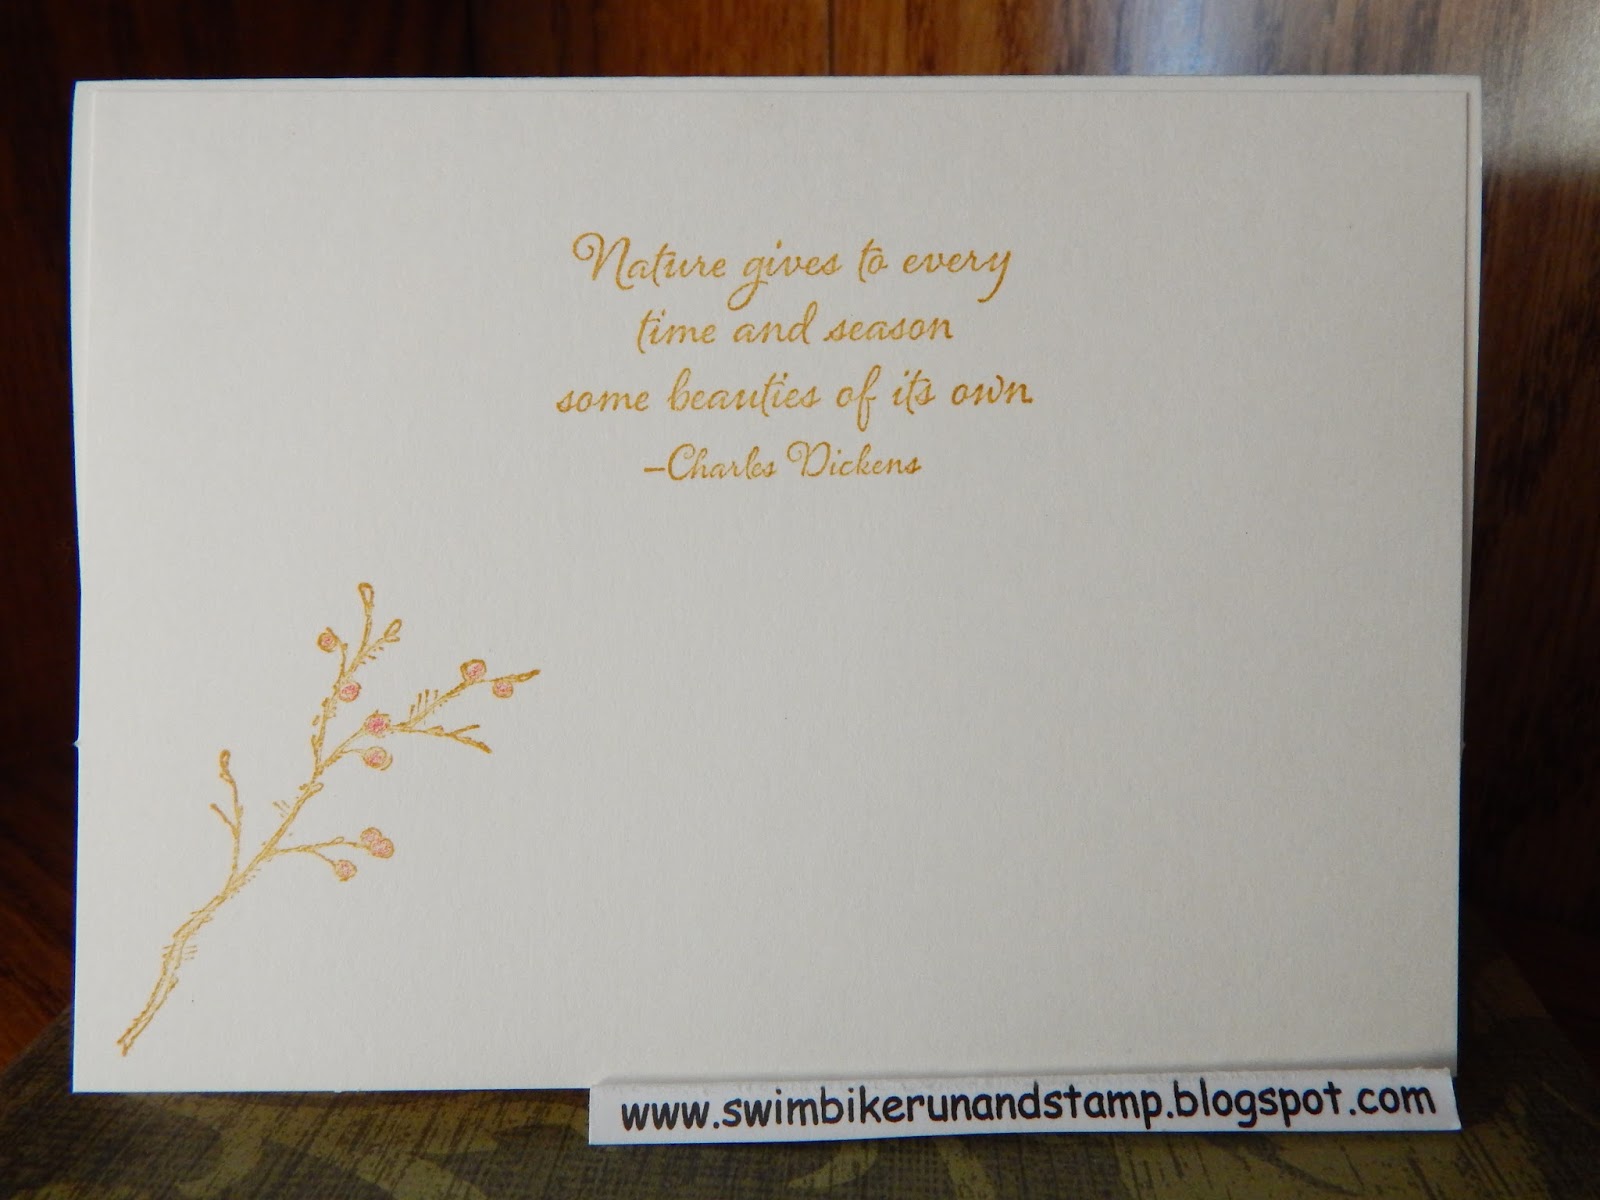
Here is a picture of the finished inside.

The little butterfly is from a retired SU set called "Every Moment" and the sentiment is from the Power Poppy set called Simply Camelias, a gorgeous stamp set I actually won by participating in their January challenge with THIS CARD. Right now, the February challenge is going on over at Power Poppy , they love it if you use one of Marcella Howley's images but, if you don't have any Power Poppy stamp sets yet, you can participate with any stamps for a chance to win a free set of your choice, so I hope you give this challenge a try.
This is the banner that inspired my card.

Thank you for stopping by today, until next time, happy stamping.
Hugs from Maria.