Hello everybody: I have a card to share today made with one of my favorite images from Arts Impressions, this super fun, adorable lady is from the set called Beach Babes and I think she is totally fabulous, love the sentiment and the HUGE rock on her finger, LOL!!
I'm linking this card to a few challenges at the end of this post.
I'm linking this card to a few challenges at the end of this post.

After arranging my layers, I stamped her onto a piece of water color paper with Stazon black ink and colored her with some neon green water color paint who's origins I can't remember, this little plastic tube of paint is super old but I love that it still works. I added Dazzling Details to her bathing suit and hat, Glossy Accents to her shades and glass and a bit of Panama City Beach sand under her beach chair. This sand is from those amazing Spring Break vacations my hubby and I took with our grandchildren, when they were younger, sigh!! how we miss those days.😢
**********************************************************************
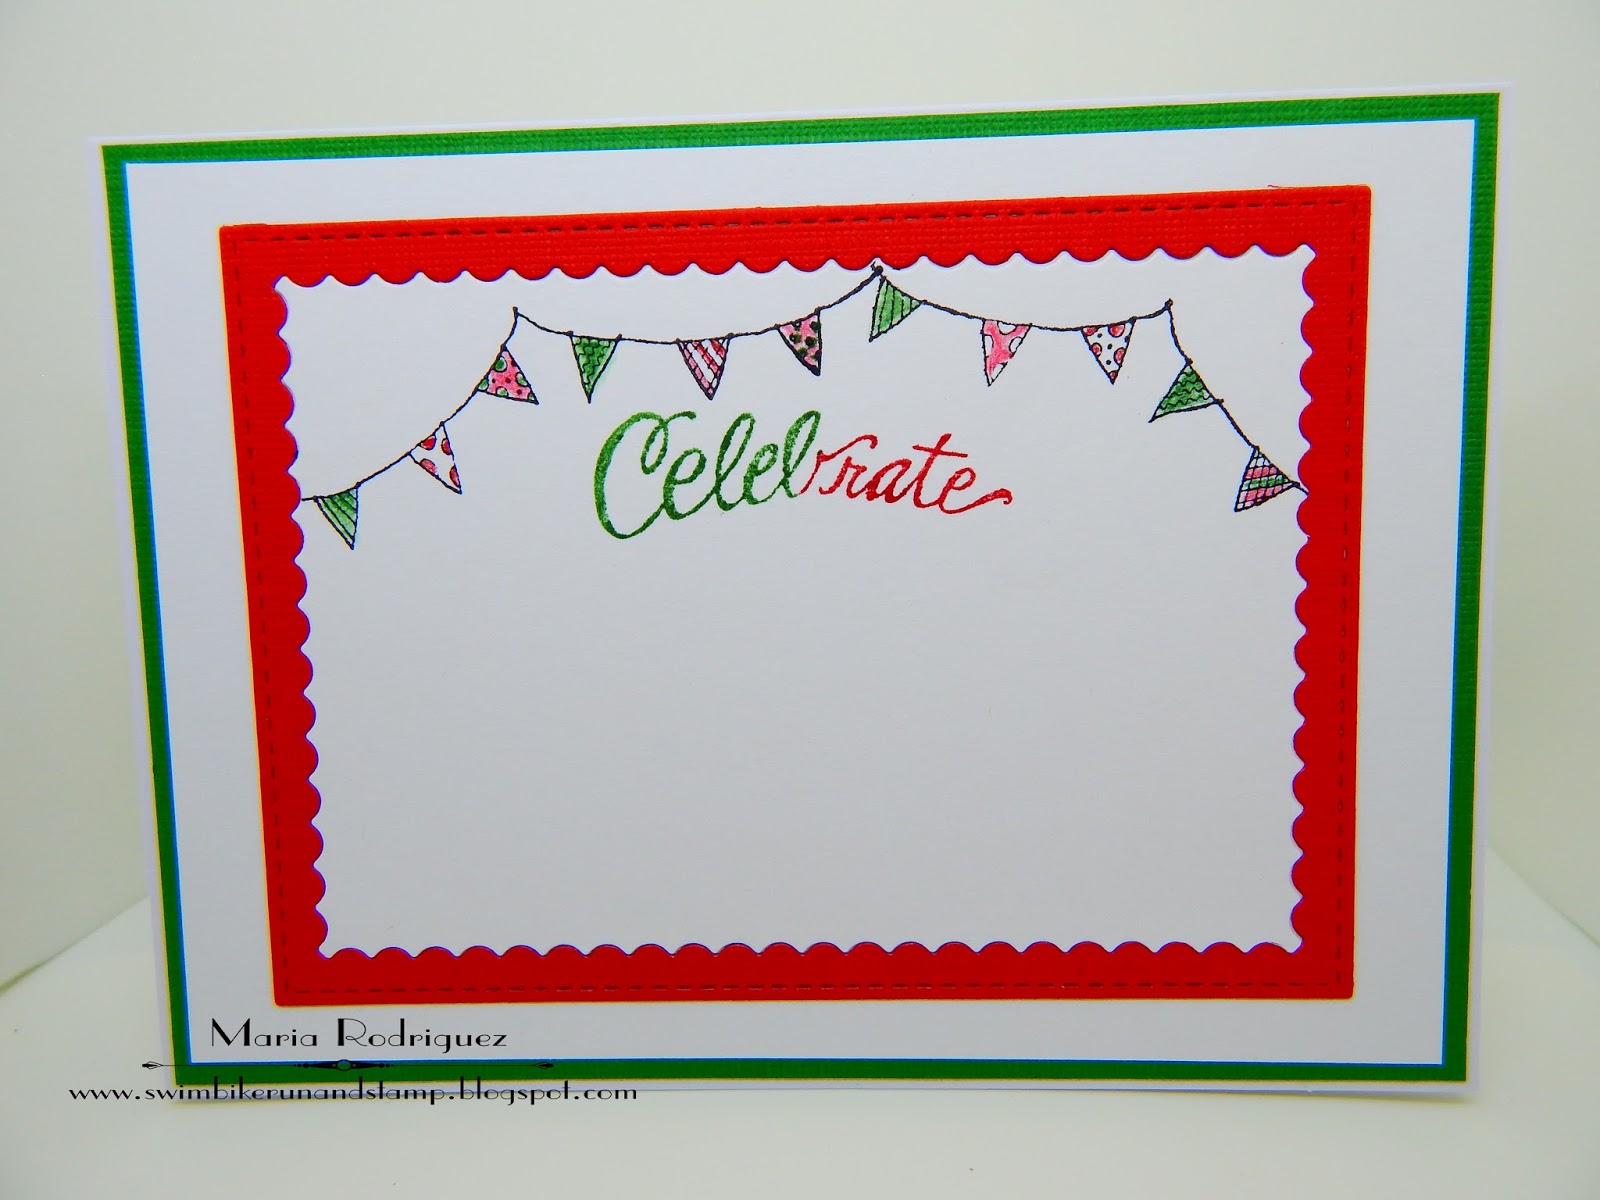
Here is a picture of the finished inside of my card.

The sentiment is from a retired Flourishes set called "Camellias" and the yummy drink from a retired Stampin' Up! set called "Happy Hour".
I'm linking this card to the following challenges.
Art Impressions Challenge #212 "Bling, Glitter or Glossy"
Creative Knockouts Challenge #201 "Summer Fun"
DL.ART Challenge #207 "Summer Fun"
Making Memories Crafting "Anything Goes/Anything but Square"

Thank you for stopping by, I always read every single comment you so kindly leave on my posts, I want you to know I appreciate them more than words can express.
Until next time, happy stamping.
Hugs from Maria.